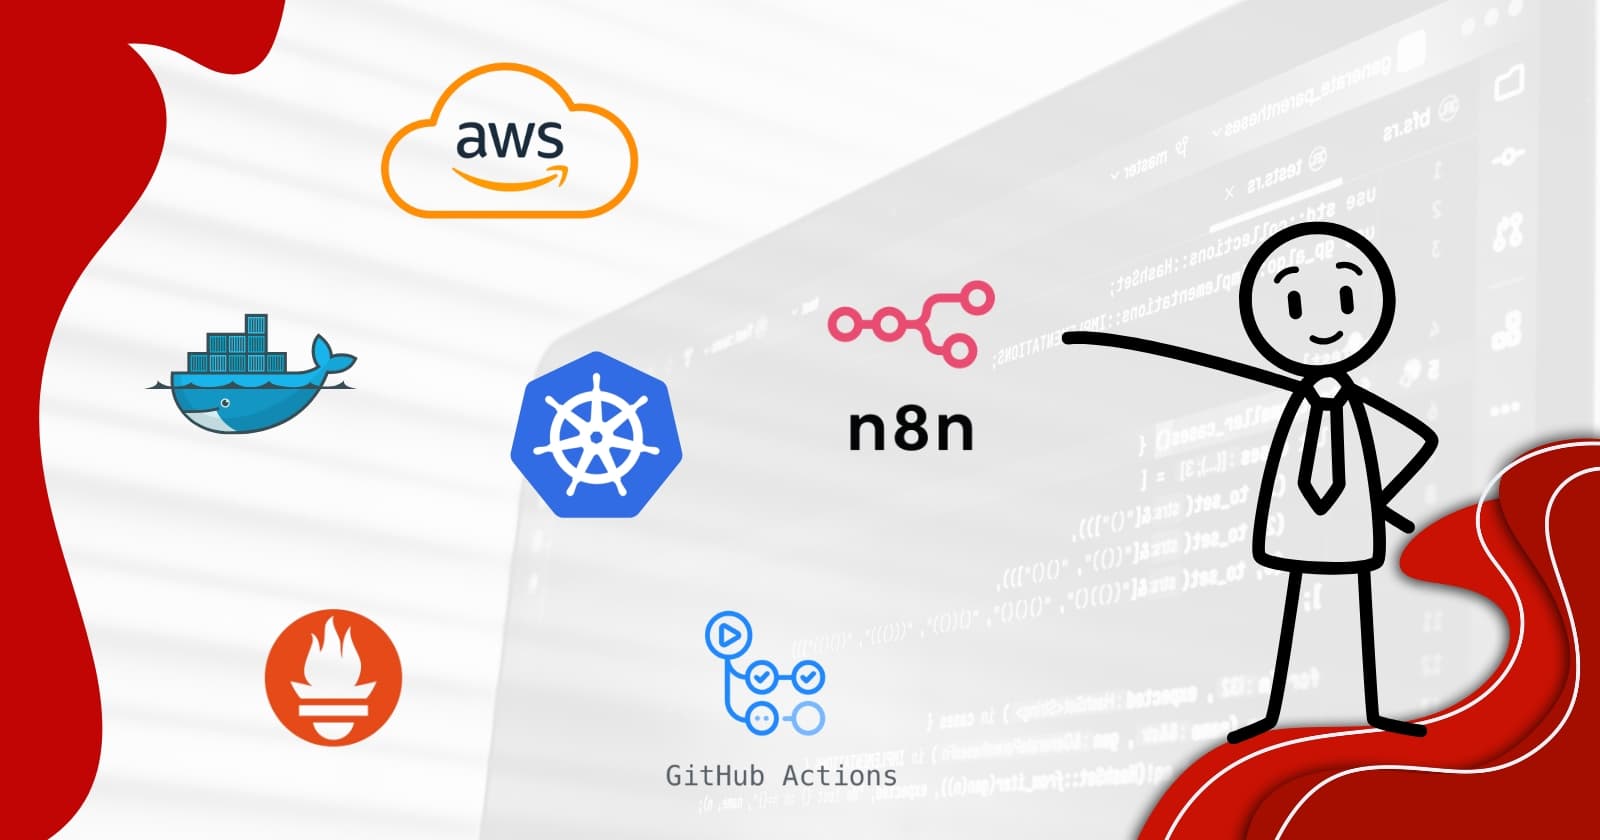
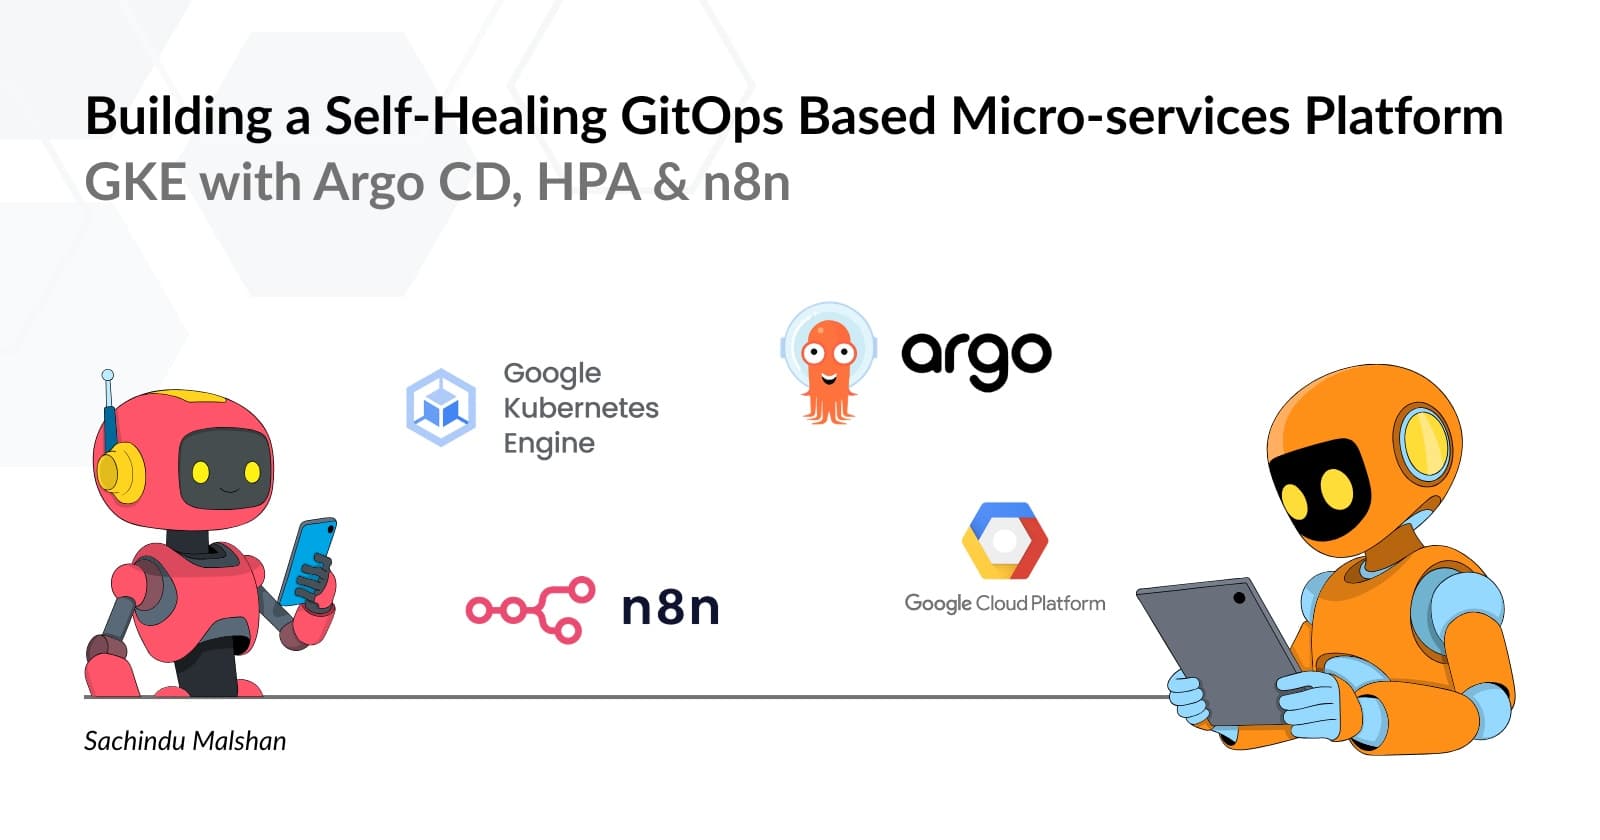
Building a Self-Healing GitOps Based Micro-services Platform on GKE with Argo CD, HPA & n8n
A complete end-to-end DevOps project using Google Kubernetes Engine (GKE), Argo CD (GitOps), Artifact Registry, Horizontal Pod Autoscaler (HPA), and n8n automation workflows.
DevOps Enthusiast
Repository Link: https://github.com/sachindumalshan/gitops-repo.git
Architecture Overview
Here is the system level architecture.
Google Cloud (GKE)
│
├── Kubernetes Cluster (gitops-cluster)
│   ├── default namespace
│   │   ├──── service-a (Device Service)
│   │   │     ├─ app.py
│   │   │     ├─ deployment.yaml
│   │   │     ├─ hpa.yaml
│   │   │     ├─ Dockerfile
│   │   │     └─ service.yaml
│   │   ├──── service-b (Sensor Service)
│   │   │     ├─ app.py
│   │   │     ├─ deployment.yaml
│   │   │     ├─ hpa.yaml
│   │   │     ├─ Dockerfile
│   │   │     └─ service.yaml
│   │   └──── service-c (Alert Service)
│   │         ├─ app.py
│   │         ├─ deployment.yaml
│   │         ├─ hpa.yaml
│   │         ├─ Dockerfile
│   │         └─ service.yaml
│   │
│   ├── argocd namespace
│   │   ├── argocd-server
│   │   ├── argocd-repo-server
│   │   ├── argocd-application-controller
│   │   └── argocd-dex-server
│   │
│   └── automation namespace
│       └── n8n
│
├── Google Artifact Registry
│
└── GitHub (Source of Truth)
End-to-End Flow
Developer pushes code → GitHub
        ↓
Argo CD detects change
        ↓
Argo CD syncs to GKE
        ↓
Pods deployed / updated
        ↓
Kubernetes handles:
    - Self-healing
    - Auto-scaling (HPA)
        ↓
n8n monitors services
        ↓
Slack alerts if failure
PHASE 1 - Install gcloud CLI & Setup GKE
Update System
sudo apt-get update
Install required packages:
sudo apt-get install apt-transport-https ca-certificates gnupg curl
Import Google Cloud Public Key
- For newer distributions:
curl https://packages.cloud.google.com/apt/doc/apt-key.gpg | sudo gpg --dearmor -o /usr/share/keyrings/cloud.google.gpg
- For older distributions:
curl https://packages.cloud.google.com/apt/doc/apt-key.gpg | sudo apt-key --keyring /usr/share/keyrings/cloud.google.gpg add -
- If unsupported:
curl https://packages.cloud.google.com/apt/doc/apt-key.gpg | sudo apt-key add -
Add Repository
- Newer systems:
echo "deb [signed-by=/usr/share/keyrings/cloud.google.gpg] https://packages.cloud.google.com/apt cloud-sdk main" | sudo tee -a /etc/apt/sources.list.d/google-cloud-sdk.list
- Older systems:
echo "deb https://packages.cloud.google.com/apt cloud-sdk main" | sudo tee -a /etc/apt/sources.list.d/google-cloud-sdk.list
Install gcloud
sudo apt-get update && sudo apt-get install google-cloud-cli
Login & Configure Project
gcloud auth login
gcloud projects list
gcloud config set project gitops-self-healing-7687
Enable APIs:
gcloud services enable \
  container.googleapis.com \
  compute.googleapis.com \
  cloudbuild.googleapis.com \
  artifactregistry.googleapis.com \
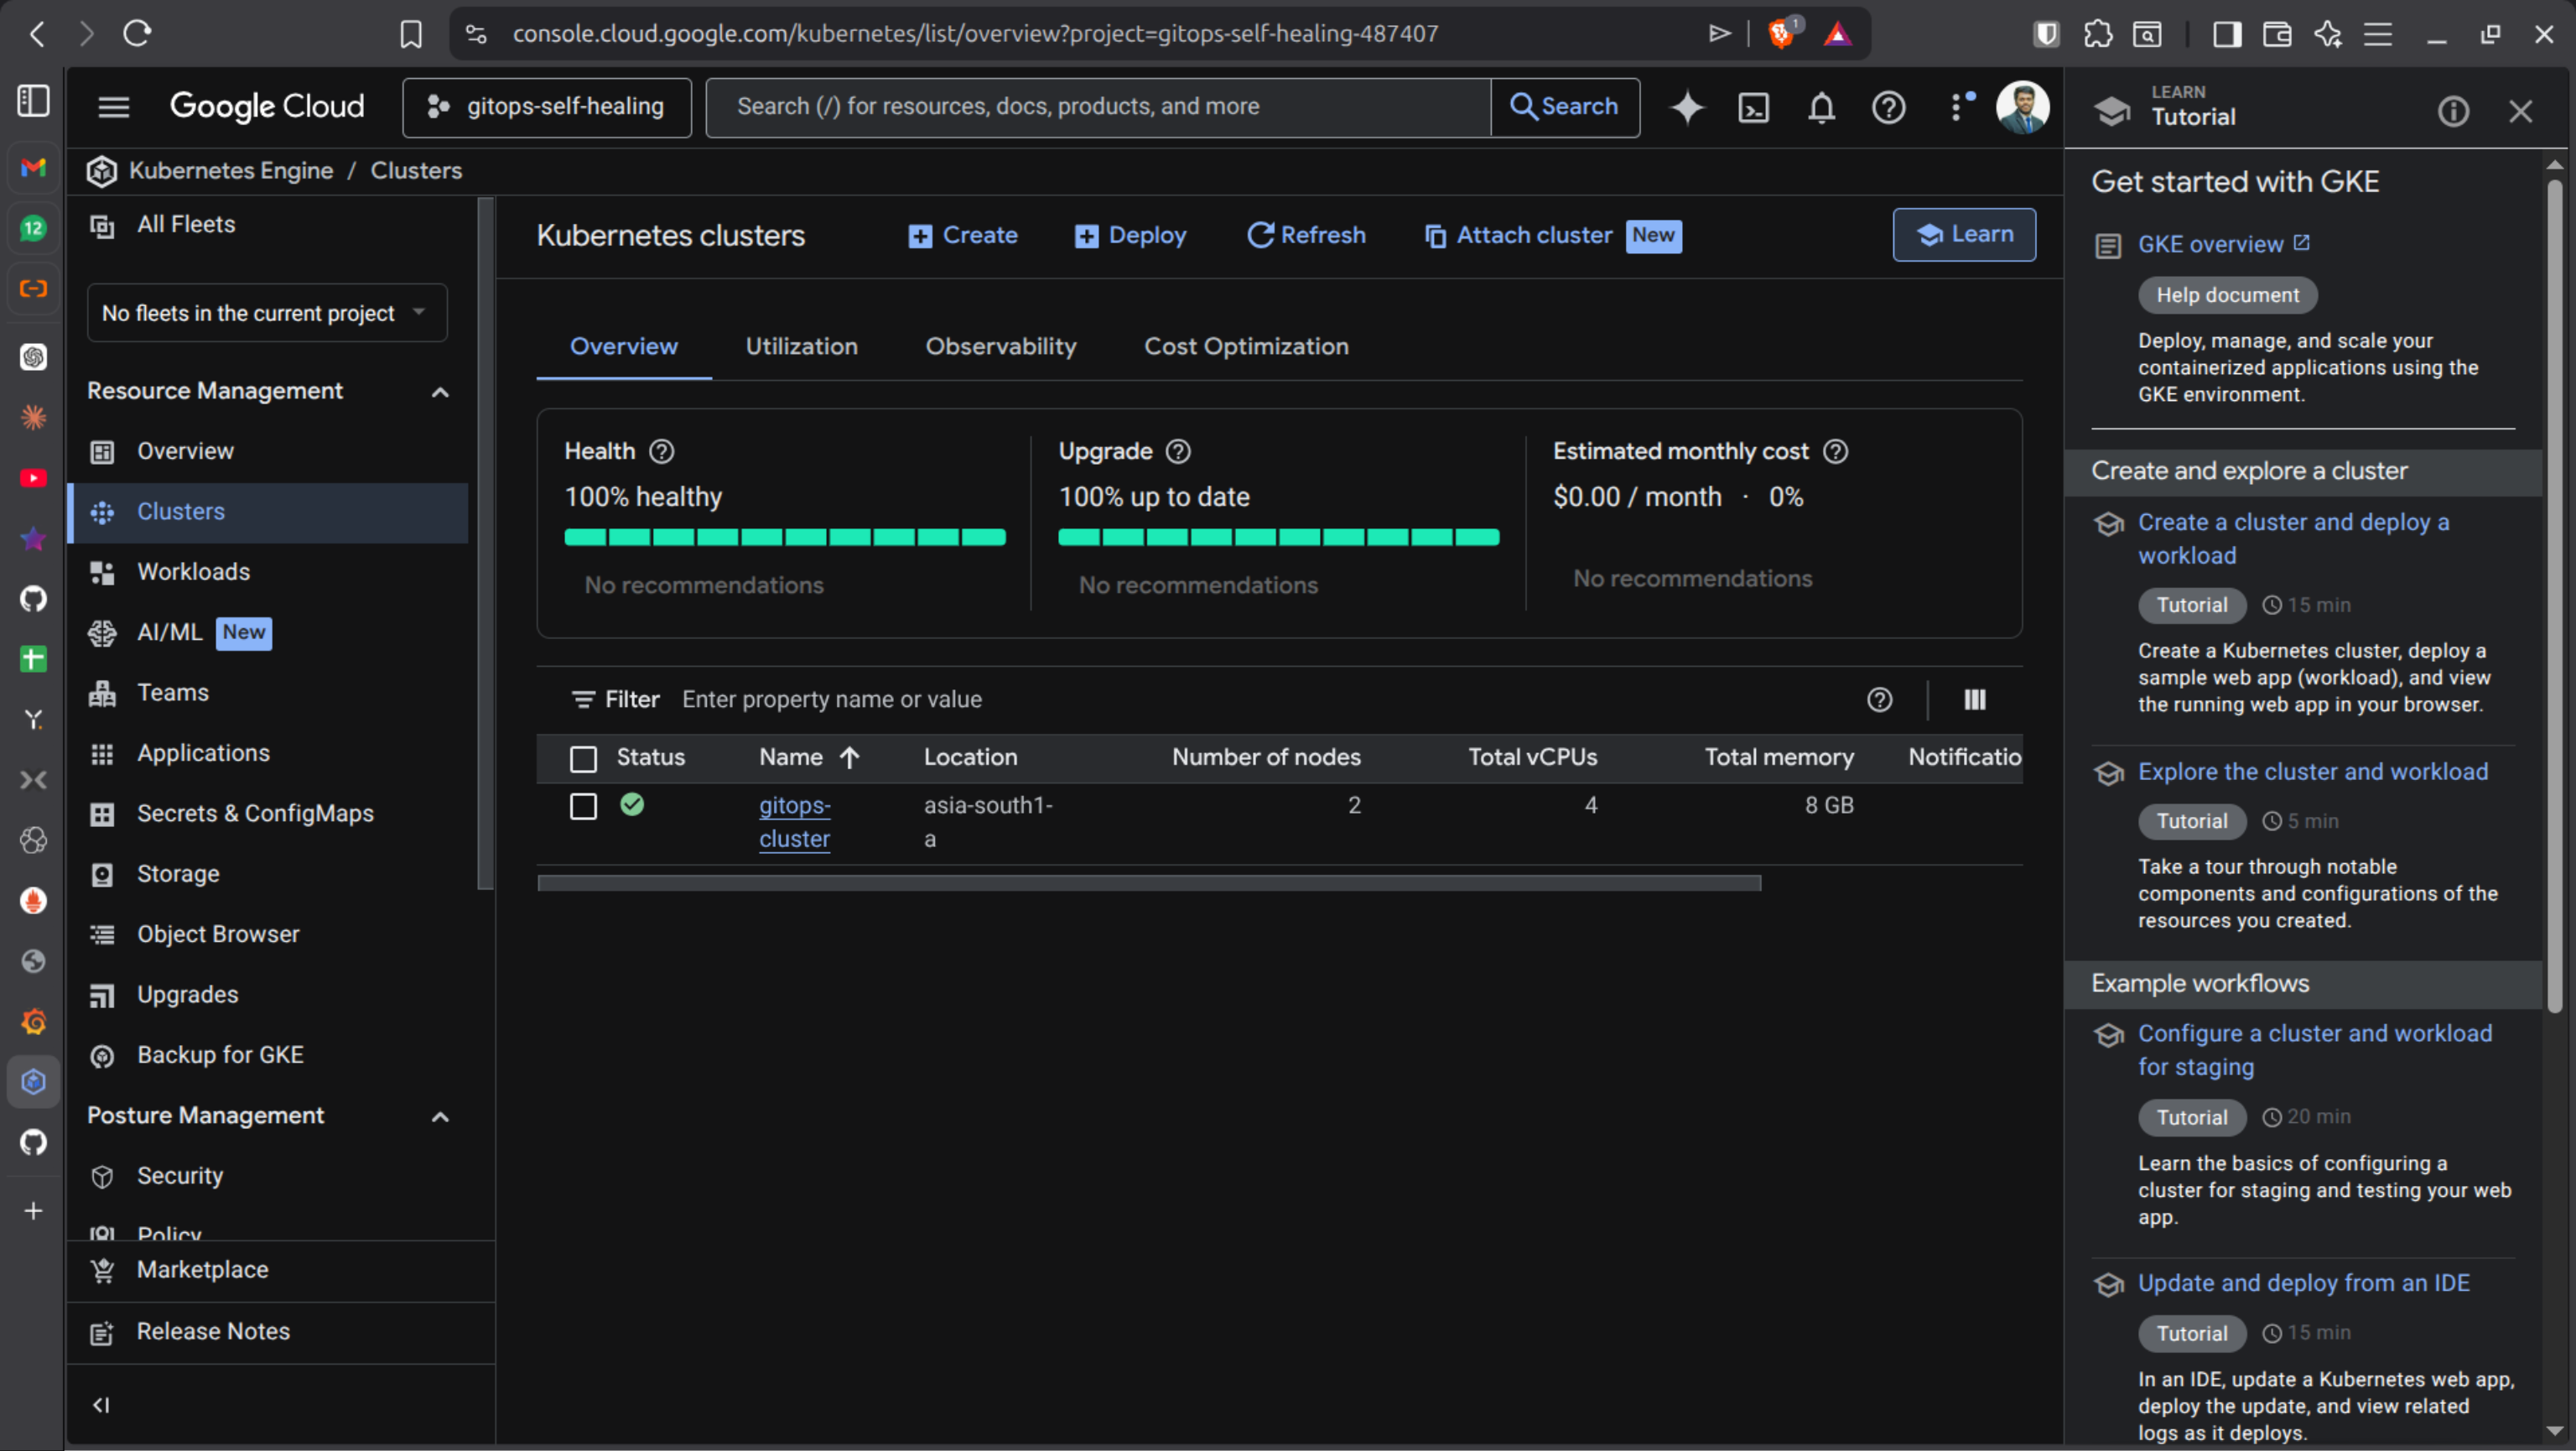
🟢 Create GKE Cluster
gcloud container clusters create gitops-cluster \
  --zone asia-south1-a \
  --num-nodes 2 \
  --machine-type e2-medium
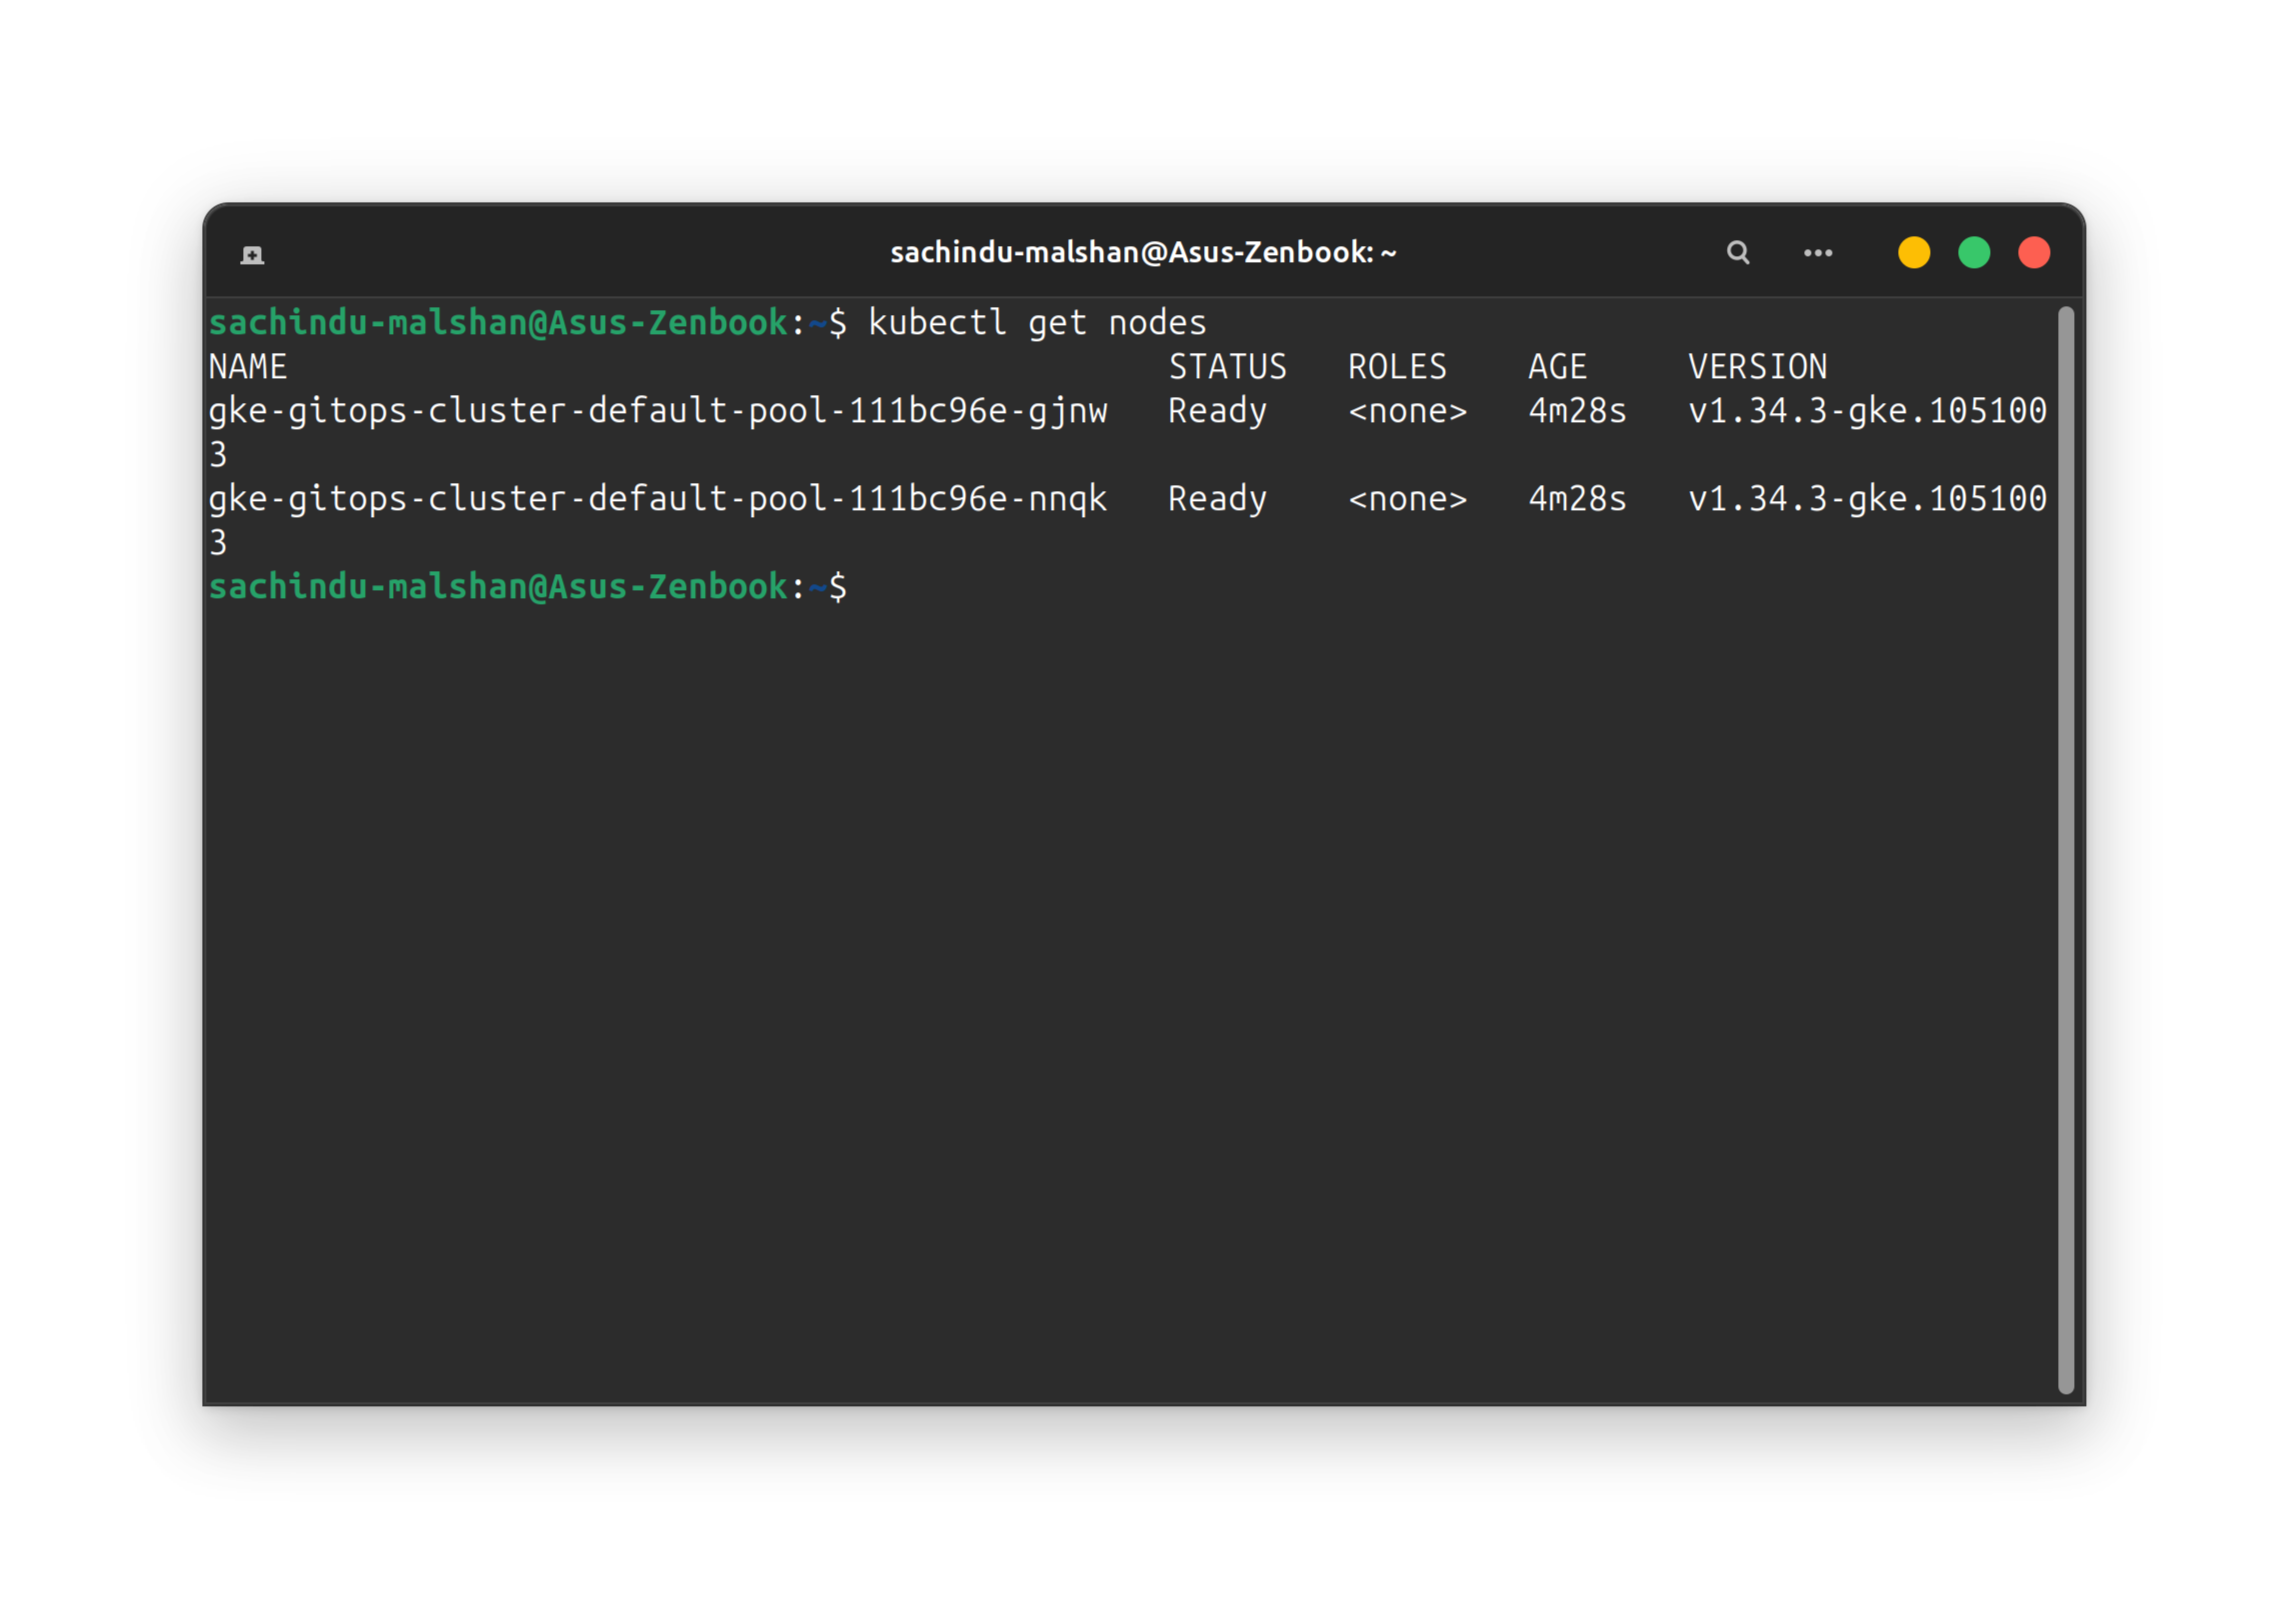
Get credentials:
gcloud container clusters get-credentials gitops-cluster \
  --zone asia-south1-a
❗ ERROR 1 — GKE Auth Plugin Missing
If you see authentication errors:
Install plugin:
sudo apt-get install google-cloud-cli-gke-gcloud-auth-plugin
Verify:
which gke-gcloud-auth-plugin
Refresh kubeconfig:
gcloud container clusters get-credentials gitops-cluster \
  --zone asia-south1-a
Test:
kubectl get nodes
PHASE 2 - Build & Push Python Microservice
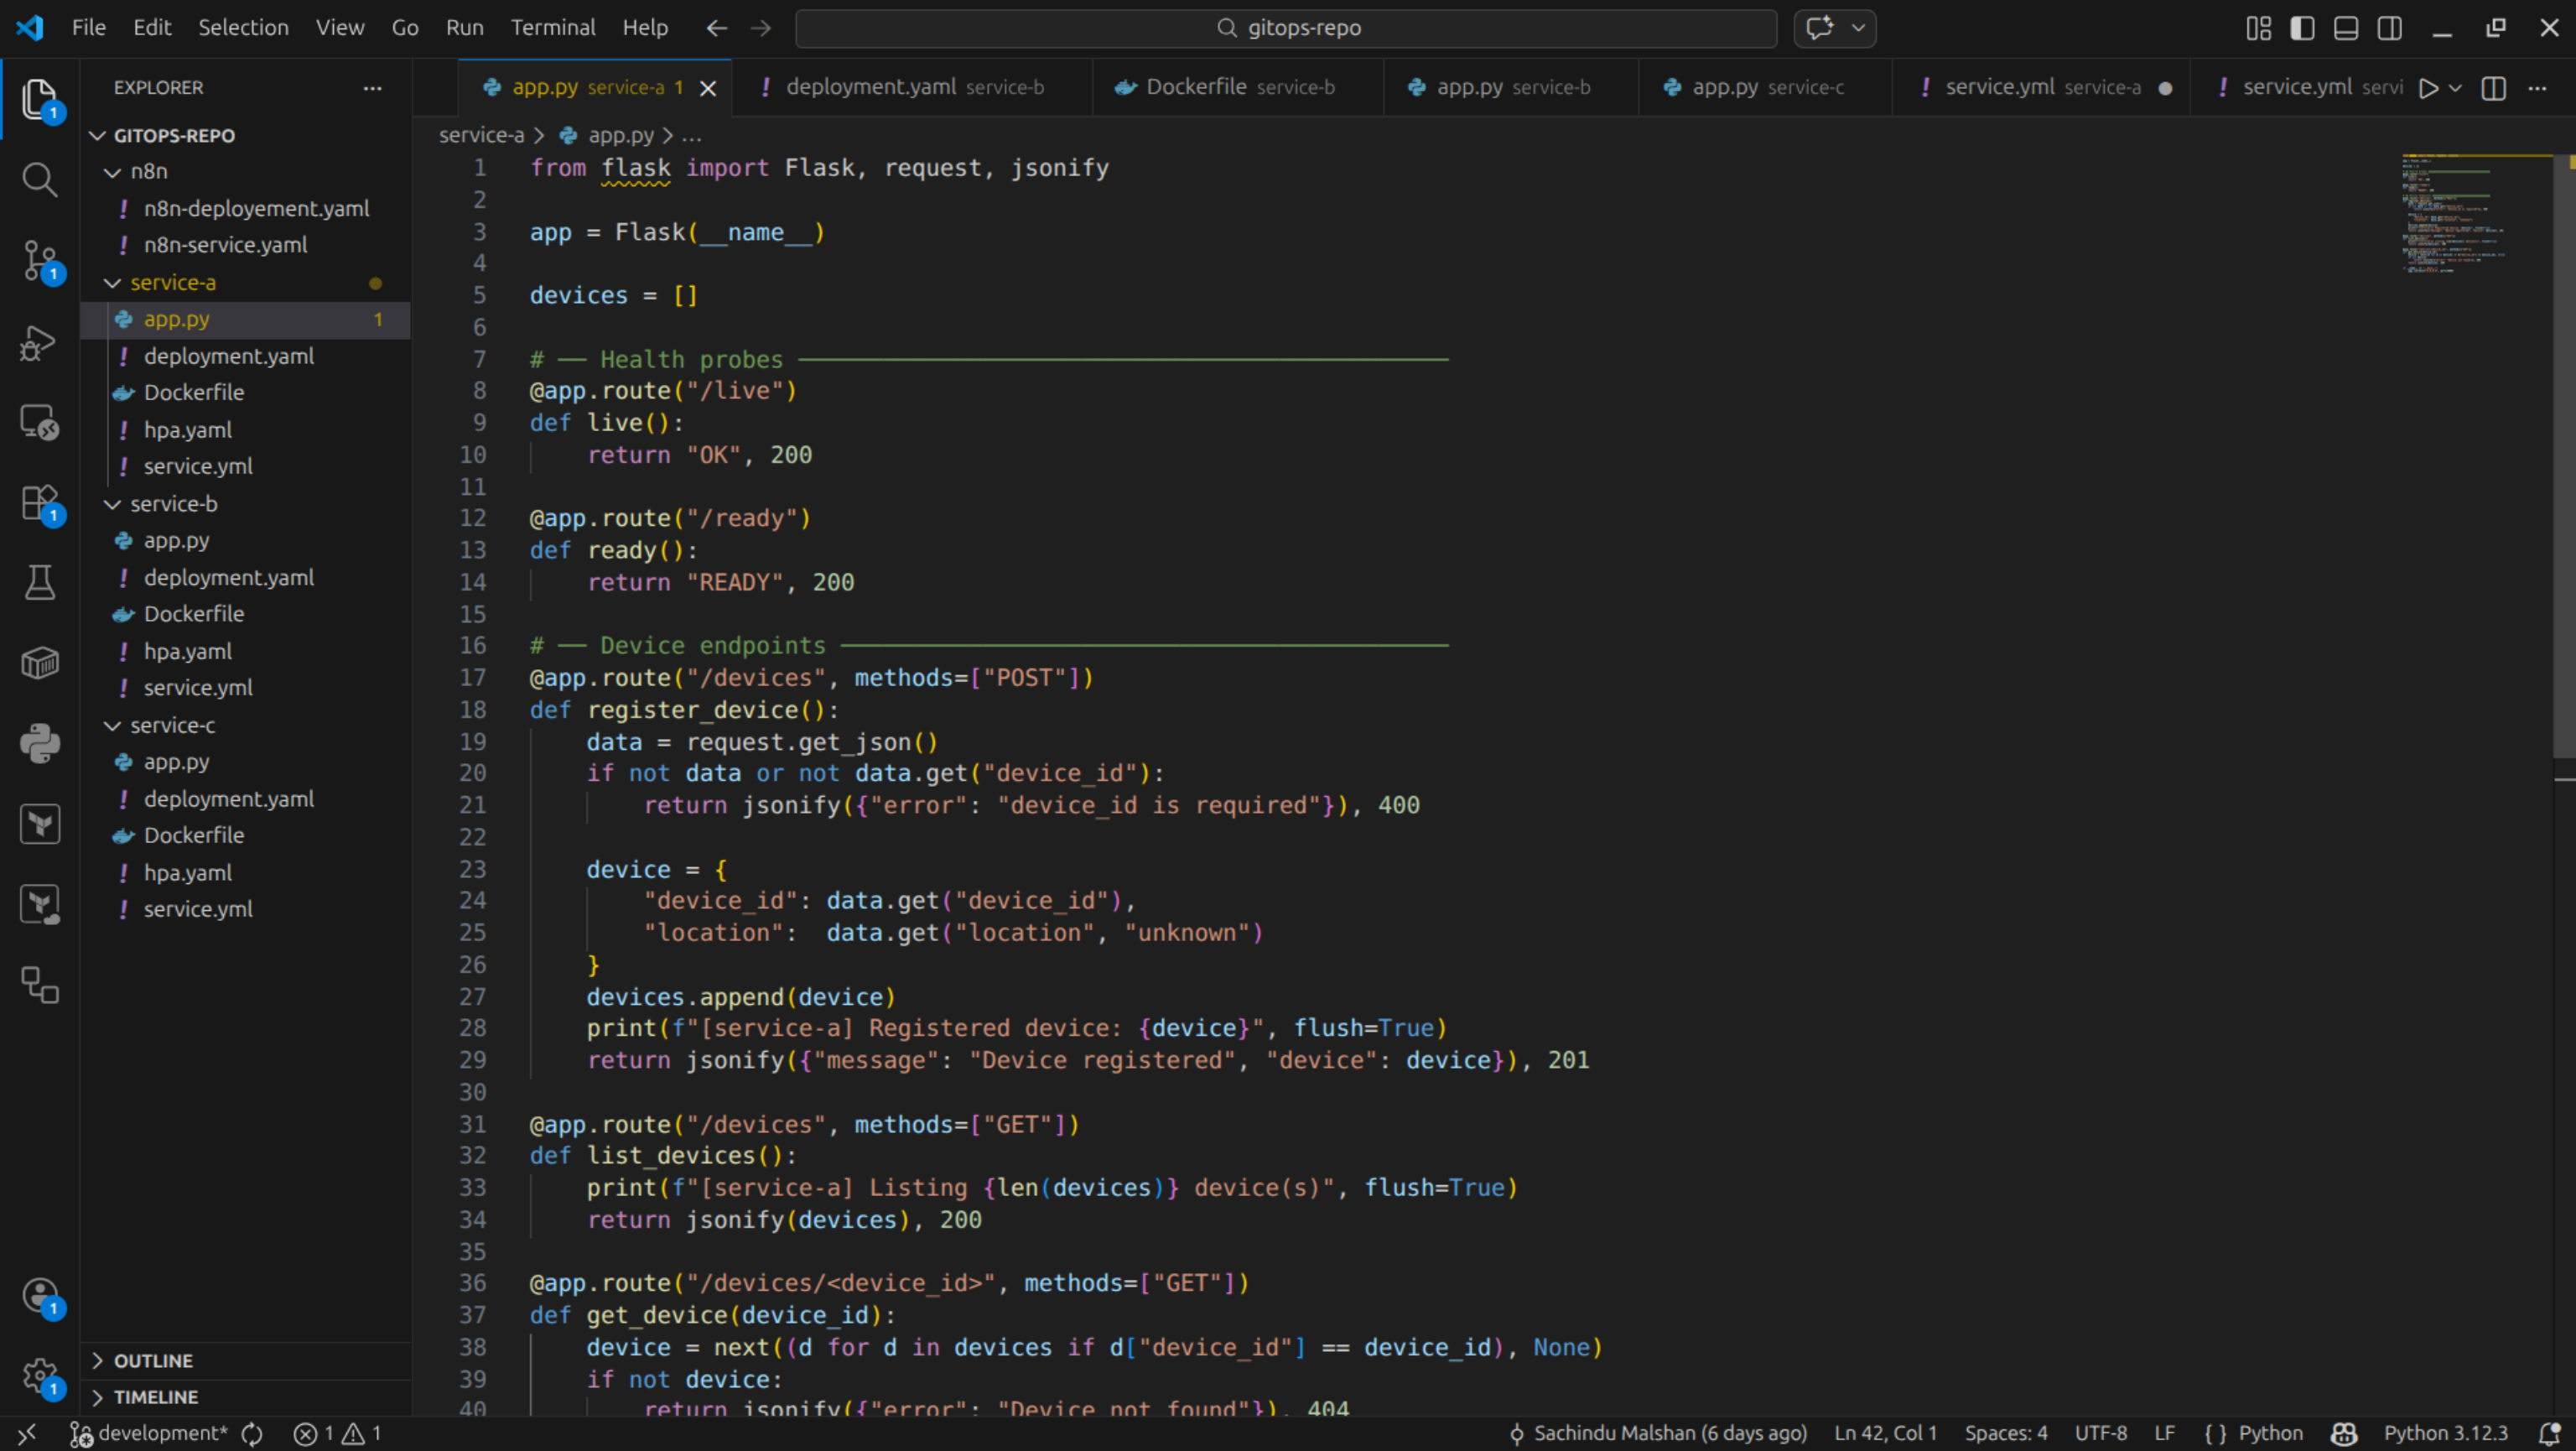
Sample Flask App: app.py
from flask import Flask
import os

app = Flask(__name__)

@app.route("/health")
def health():
    if os.getenv("FAIL") == "true":
        return "FAIL", 500
    return "OK", 200

@app.route("/")
def home():
    return "Service A Running", 200

app.run(host="0.0.0.0", port=8080)
Dockerfile
FROM python:3.11-slim
WORKDIR /app
RUN pip install flask
COPY app.py .
CMD ["python", "app.py"]
Create Artifact Registry
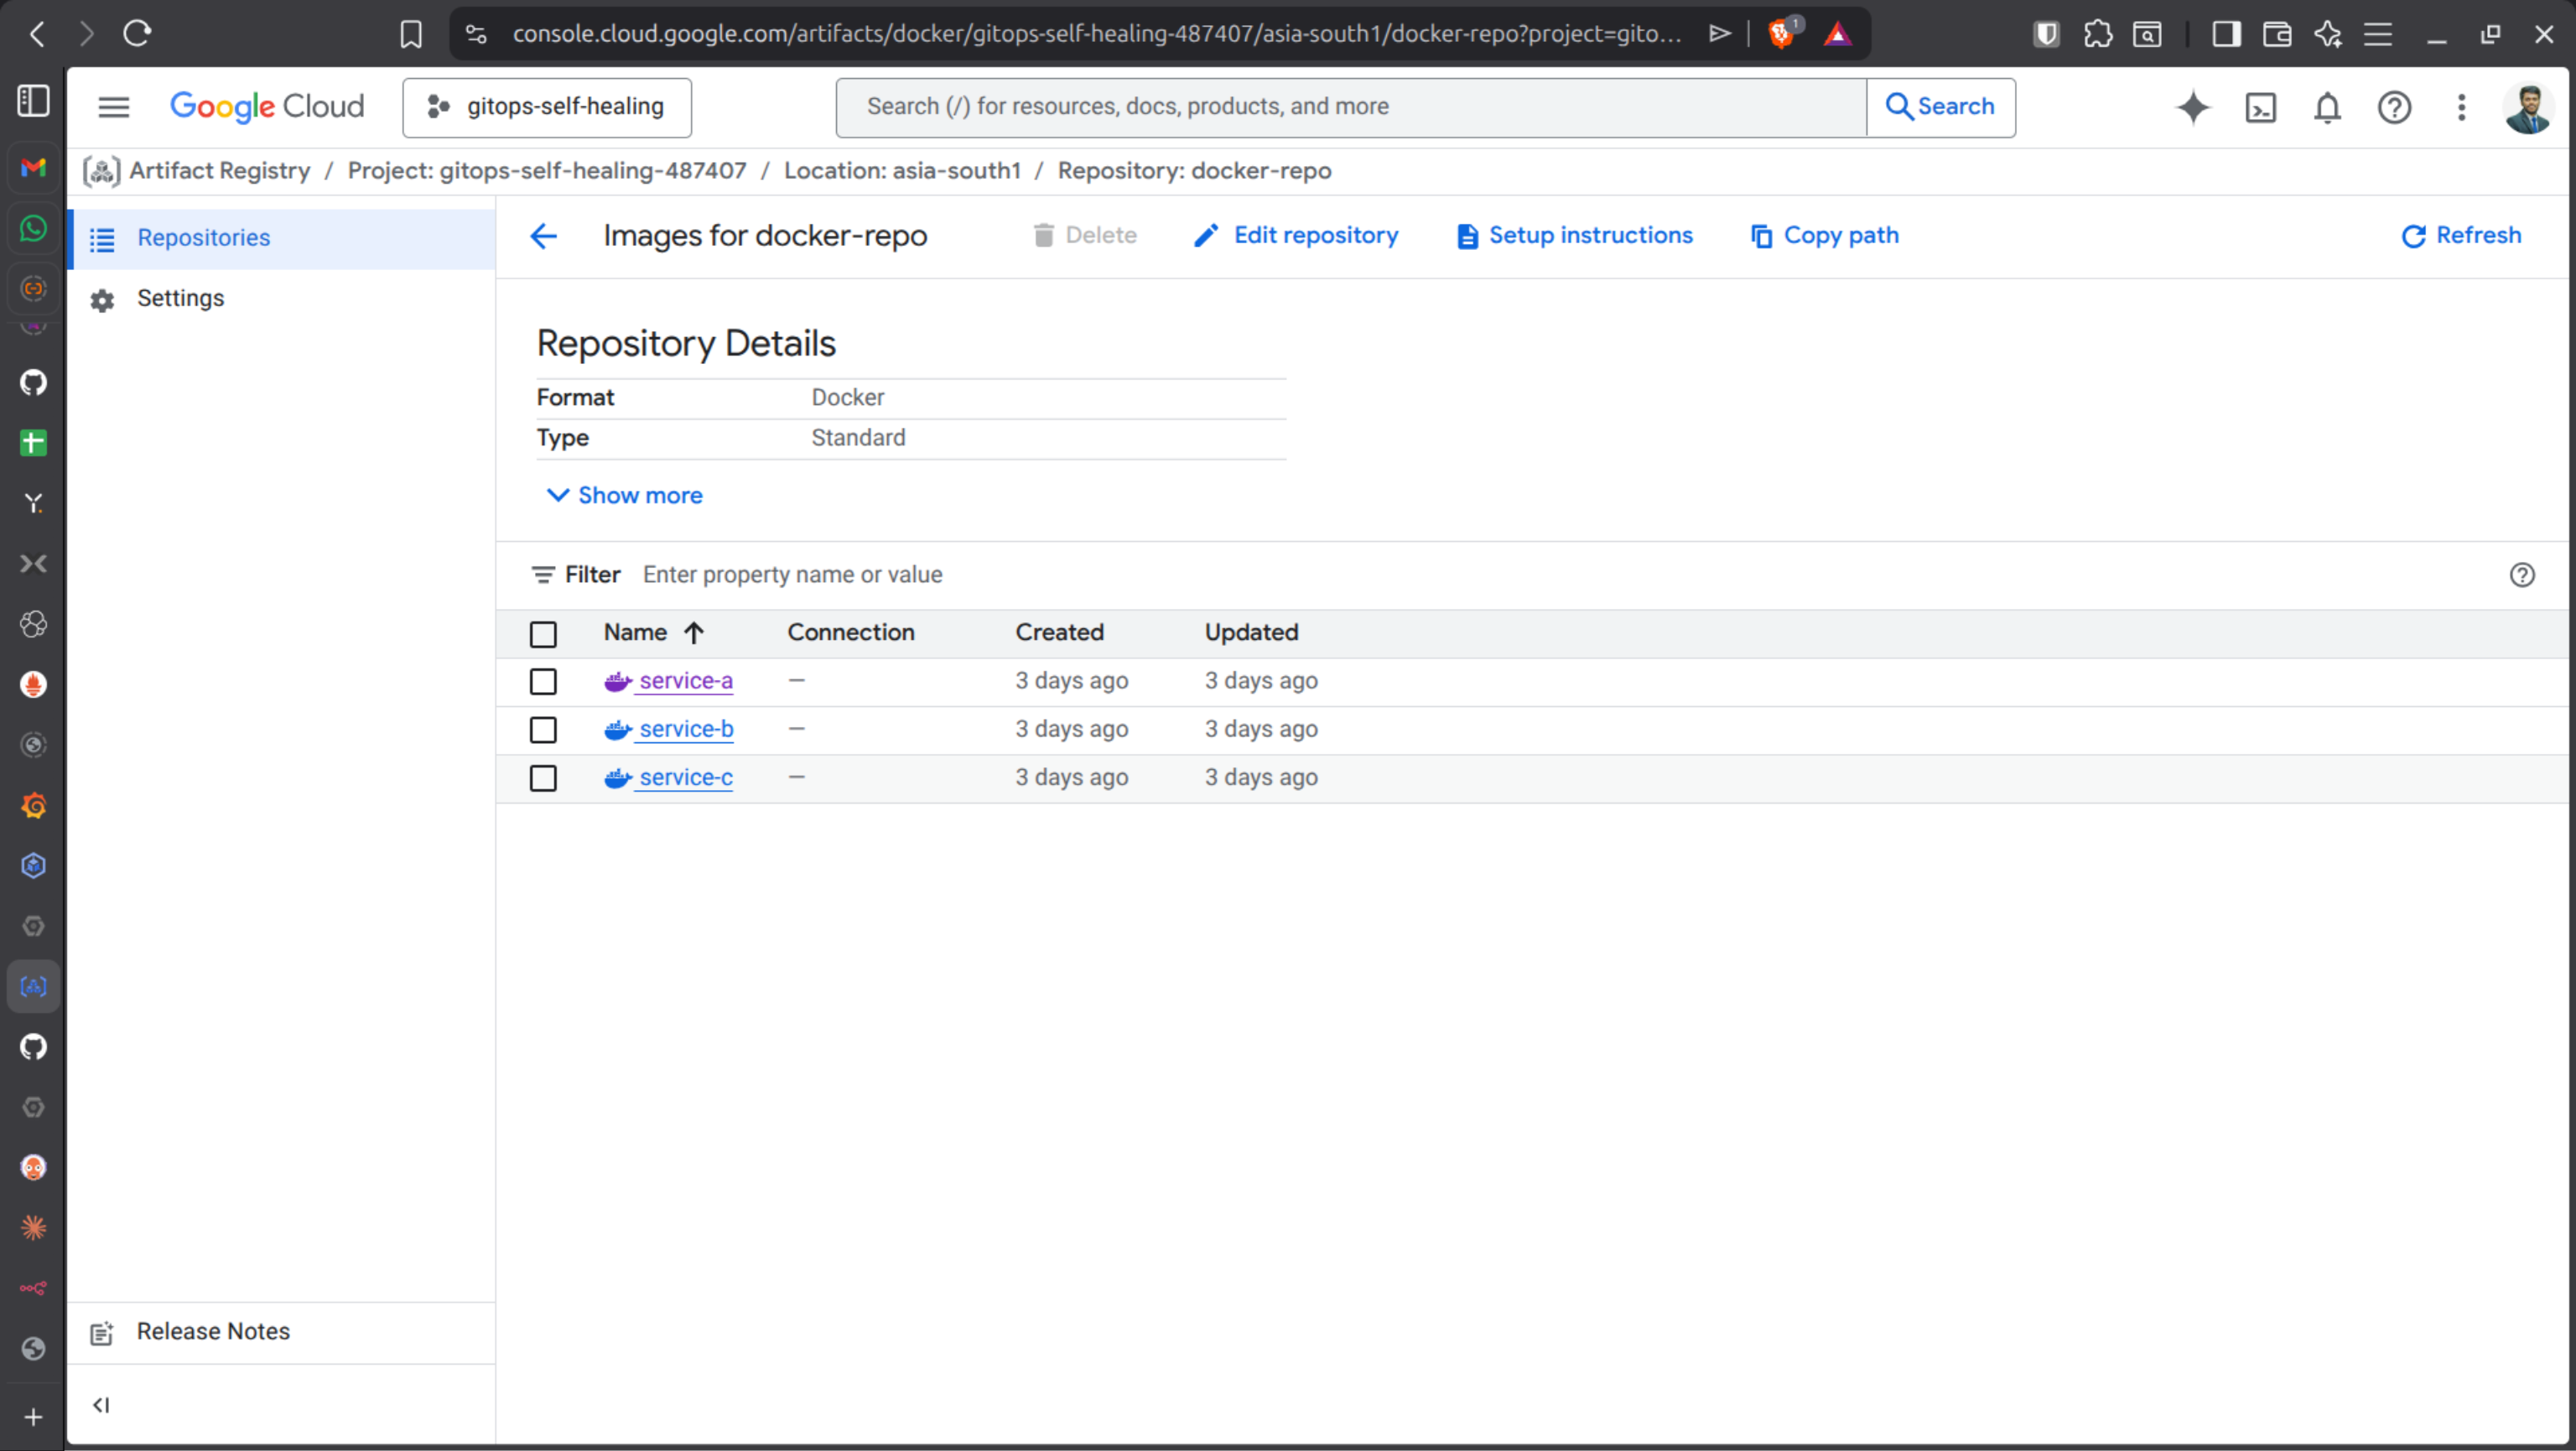
gcloud artifacts repositories create docker-repo \
  --repository-format=docker \
  --location=asia-south1
Configure Docker:
gcloud auth configure-docker asia-south1-docker.pkg.dev
Build & push:
docker build -t asia-south1-docker.pkg.dev/gitops-self-healing/docker-repo/service-a:v1 .
docker push asia-south1-docker.pkg.dev/gitops-self-healing/docker-repo/service-a:v1
❗ ERROR 2 — ImagePullBackOff
Cause: GKE nodes don’t have permission to pull images.
Get project number:
gcloud projects describe gitops-self-healing \
  --format="value(projectNumber)"
Grant permission:
gcloud projects add-iam-policy-binding gitops-self-healing \
  --member="serviceAccount:[email protected]" \
  --role="roles/artifactregistry.reader"
Restart pod:
kubectl delete pod <pods_name> #service-a-595cc8c965-tlmrh
kubectl get pods -w
PHASE 3 - Kubernetes Self-Healing
Deployment with probes:
apiVersion: apps/v1
kind: Deployment
metadata:
  name: service-a
spec:
  replicas: 1
  selector:
    matchLabels:
      app: service-a
  template:
    metadata:
      labels:
        app: service-a
    spec:
      containers:
      - name: service-a
        image: asia-south1-docker.pkg.dev/gitops-self-healing/docker-repo/service-a:v1
        ports:
        - containerPort: 8080
        livenessProbe:
          httpGet:
            path: /health
            port: 8080
          initialDelaySeconds: 5
        readinessProbe:
          httpGet:
            path: /health
            port: 8080
          initialDelaySeconds: 5
Apply:
kubectl apply -f deployment.yaml
Test:
kubectl set env deployment/service-a FAIL=true
🔥 Kubernetes automatically restarts unhealthy pods.
PHASE 4 - Auto Scaling (HPA)
Check metrics: (CPU/Memory)
kubectl top pods
HPA File:
apiVersion: autoscaling/v2
kind: HorizontalPodAutoscaler
metadata:
  name: service-a-hpa
spec:
  scaleTargetRef:
    apiVersion: apps/v1
    kind: Deployment
    name: service-a
  minReplicas: 1
  maxReplicas: 5
  metrics:
  - type: Resource
    resource:
      name: cpu
      target:
        type: Utilization
        averageUtilization: 50
Apply HPA:
kubectl apply -f hpa.yaml
kubectl get hpa -w
HPA scales based on CPU metrics from Metrics Server.
PHASE 5 - Push to GitHub
Upload files to the GitHub Repository
git init
git add .
git commit -m "Initial commit"
git remote add origin https://github.com/<your-username>/gitops-repo.git
git push -u origin main
PHASE 6 - Install Argo CD (GitOps Engine)
Create namespace:
kubectl create namespace argocd
Install:
kubectl apply -n argocd \
  -f https://raw.githubusercontent.com/argoproj/argo-cd/stable/manifests/install.yaml
Verify:
kubectl get pods -n argocd
How you access Argo CD UI:
Option 1 (Learning / Local / GKE lab)
# Port-forward
kubectl port-forward svc/argocd-server -n argocd 8080:443

# Access
https://localhost:8080
Option 2 — Change Service Type to LoadBalancer (Direct Public IP)
Instead of port-forward, expose Argo CD externally.
# Check service:
kubectl get svc argocd-server -n argocd

#It is probably:
ClusterIP

# Patch it:
kubectl patch svc argocd-server -n argocd \ -p '{"spec": {"type": "LoadBalancer"}}'

# Now check:
kubectl get svc argocd-server -n argocd

# Access:
https://<external-ip>
Option 3 — Use Ingress (Recommended for Real DevOps Setup)
Instead of exposing service directly, use an Ingress.
This allows:
Domain name
HTTPS with TLS
Multiple apps behind one Load Balancer
In GKE, Ingress uses: Google Cloud Load Balancing
Example Ingress:
apiVersion: networking.k8s.io/v1kind: Ingressmetadata: name: argocd-ingress namespace: argocdspec: rules: - host: argocd.yourdomain.com http: paths: - path: / pathType: Prefix backend: service: name: argocd-server port: number: 443
Get Admin Password
kubectl get secret argocd-initial-admin-secret \
  -n argocd \
  -o jsonpath="{.data.password}" | base64 -d
Login with:
Username:
adminPassword: decoded value
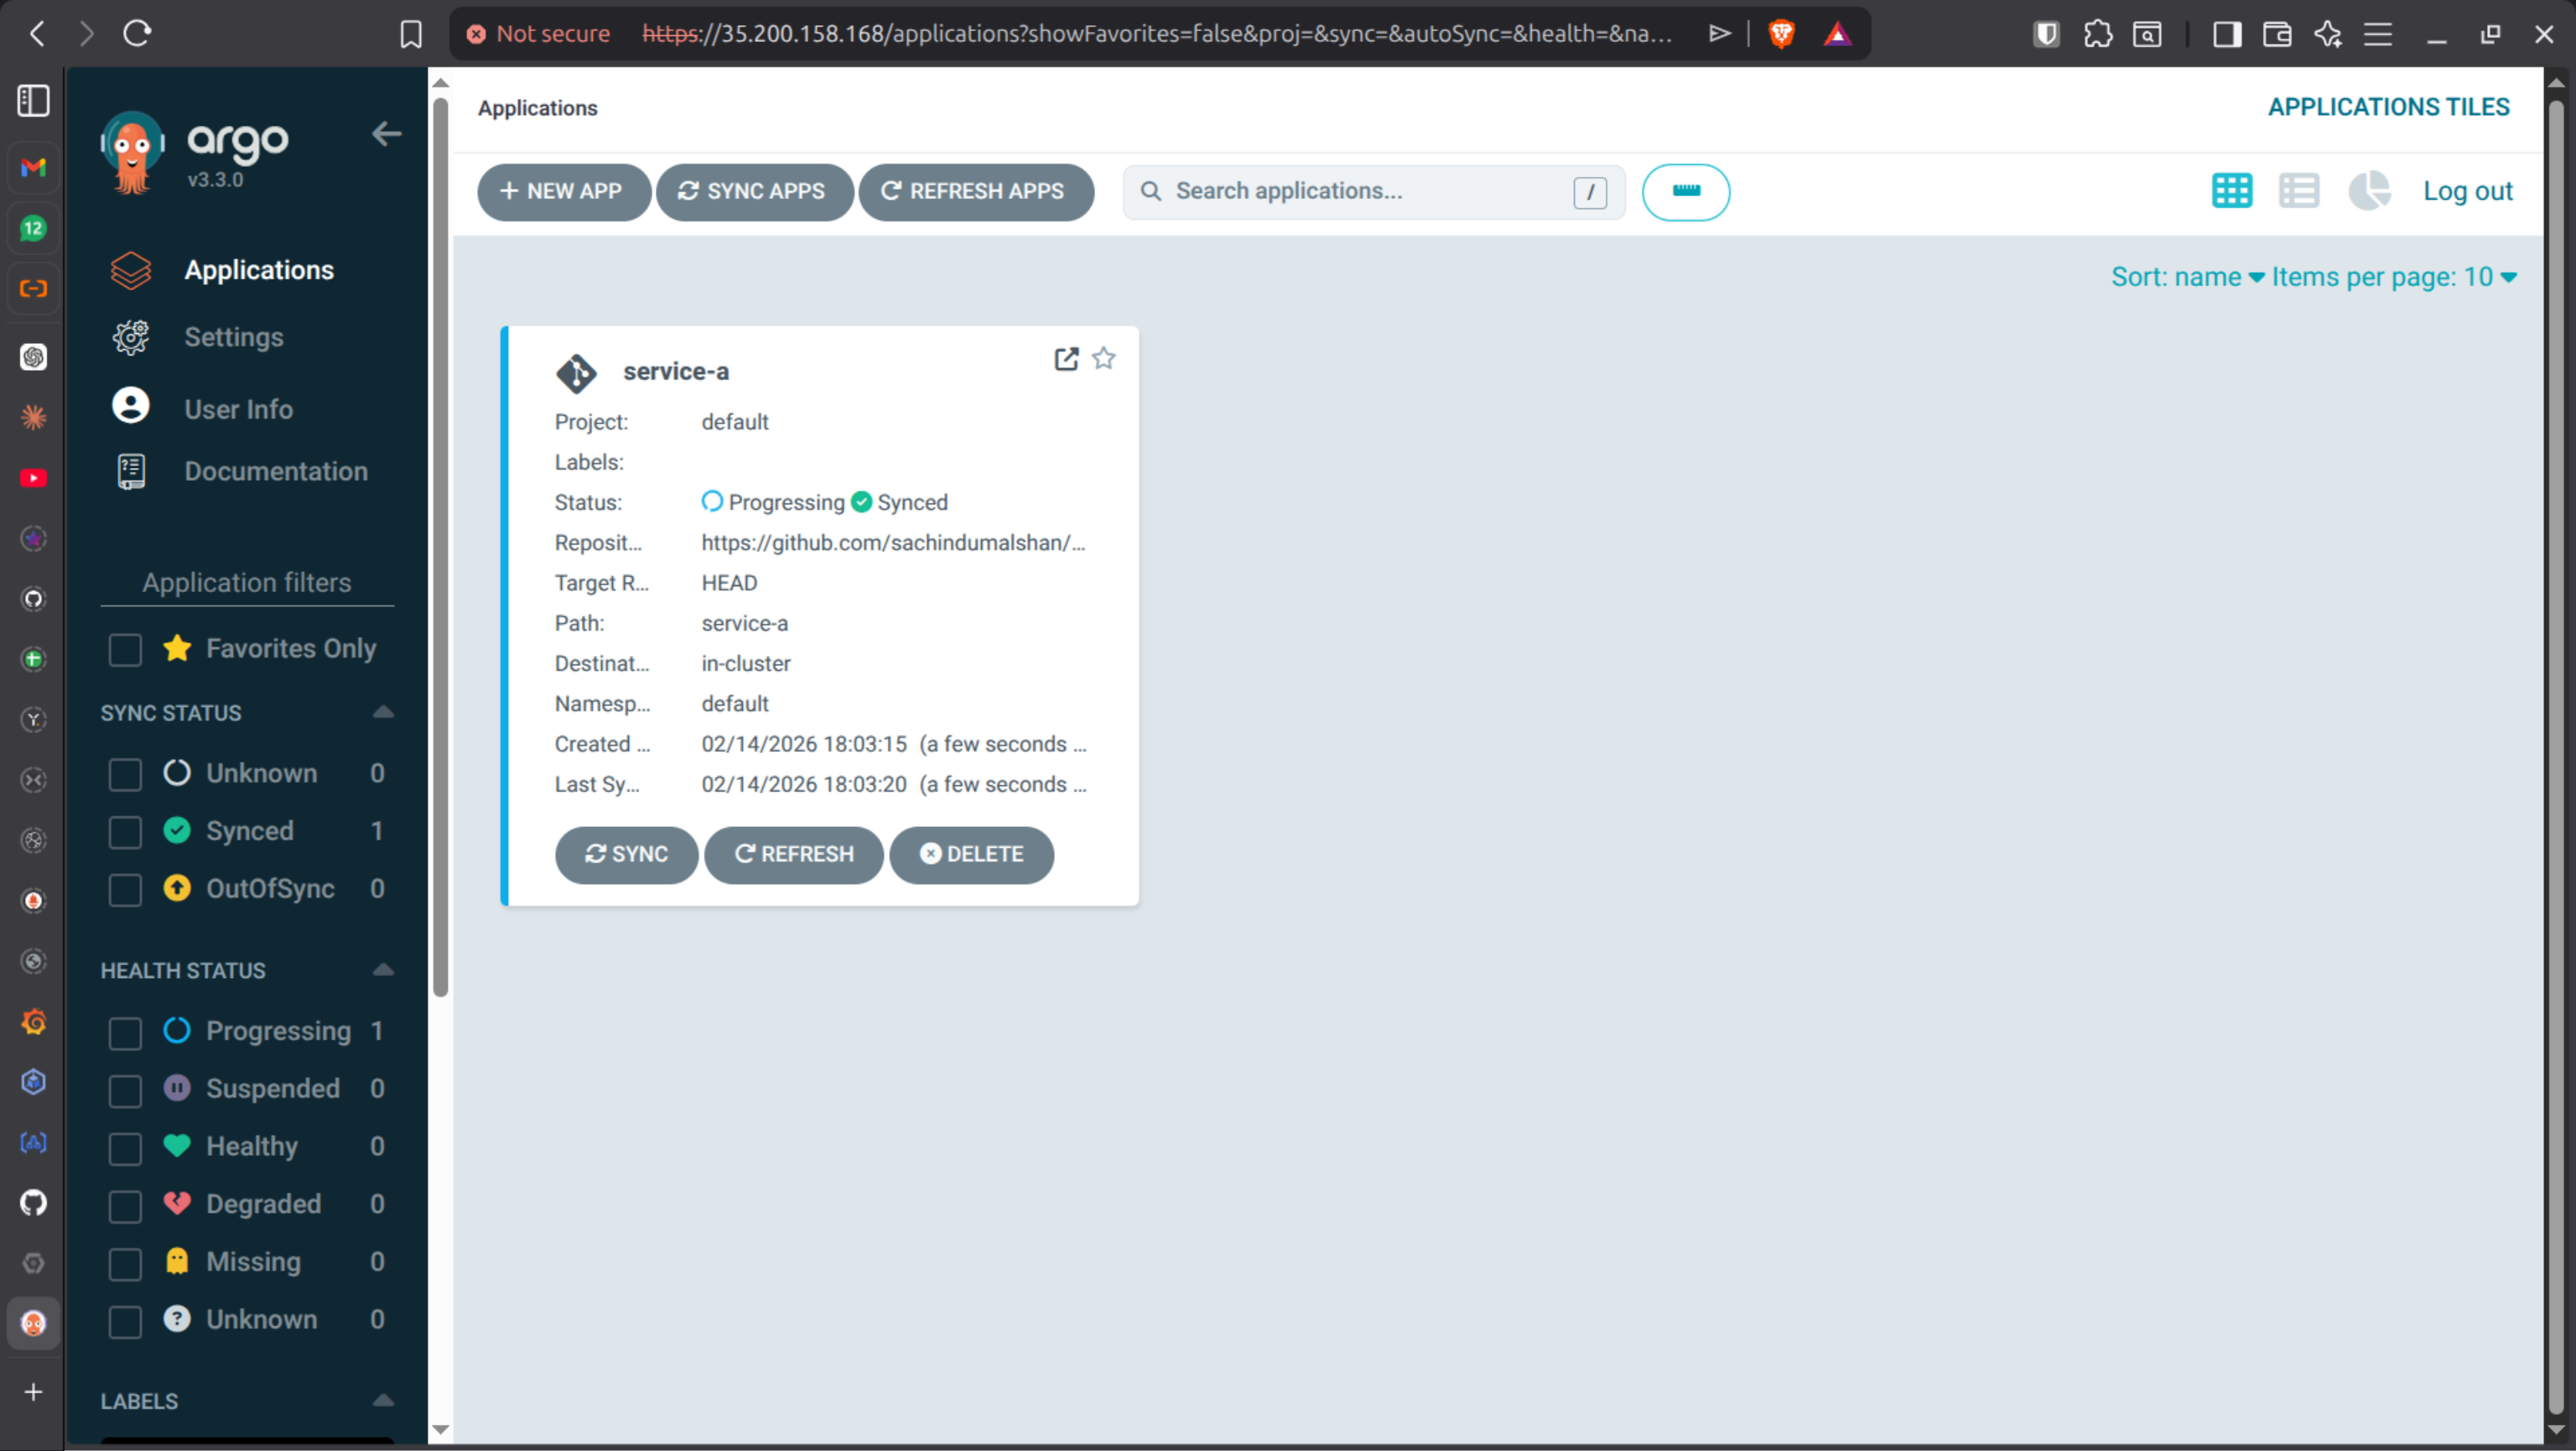
GitOps Application Creation
Sync Policy: Automatic
Auto-Prune: Enabled
Self-Heal: Enabled
Argo CD now continuously reconciles cluster state with Git.
# STEP 1️⃣ What you see after login (IMPORTANT)
You’ll see:
- Empty dashboard
- No applications yet

## STEP 2️⃣ Create your FIRST GitOps Application

Click: + NEW APP

Fill like this:
- Application Name: `service-a`
- Project: `default`
- Sync Policy: `Automatic`
    - ✅ Automatic
    - ✅ Auto-Prune
    - ✅ Self-Heal
- Repository URL:
  https://github.com/<your-username>/gitops-repo
- Revision:
  `main`
- Path:
  `service-a`

📌 This path must contain:
- `deployment.yaml`
- `service.yaml`
- `hpa.yaml`

### Destination
- Cluster URL:
  `https://kubernetes.default.svc`
- Namespace:
  `default`

Click: CREATE

## STEP 3️⃣ What happens immediately after clicking CREATE

Behind the scenes:
1.  Argo CD pulls Git repo
2.  Reads YAML files
3.  Compares with live cluster
4.  Applies manifests
5.  Shows app as **Healthy / Synced**

You’ll see:
- Green boxes
- Pod creation in real time

## STEP 4️⃣ Verify from terminal (important habit)
kubectl get pods
kubectl get svc
kubectl get hpa

## STEP 5️⃣ Prove SELF-HEALING

# Break something manually
kubectl delete pod -l app=service-a

Result:
- Pod deleted
- Deployment recreates pod
- Argo CD remains synced

# Create configuration drift
kubectl scale deployment service-a --replicas=5

Watch Argo CD UI: It will revert replicas back to Git value automatically.
❗ ERROR 3 — Application Not Syncing
Common causes:
Wrong repo path
Wrong branch
Missing YAML files
Incorrect namespace
Fix path and resync.
PHASE 7 - Expose Service via LoadBalancer
Update Service YAML:
apiVersion: v1
kind: Service
metadata:
  name: service-a
  namespace: default
spec:
  selector:
    app: service-a   # matches your pod labels
  ports:
    - protocol: TCP
      port: 80       # the port clients use to access
      targetPort: 5000  # the port your container listens on
  type: LoadBalancer   # gives an external IP in GKE
Commit & push:
git add service-a/
git commit -m "Change python app port to 5000"
git push origin main
Check external IP:
kubectl get svc service-a

# Access
http://<EXTERNAL-IP>
PHASE 8 - Multi-Service IoT Micro-services
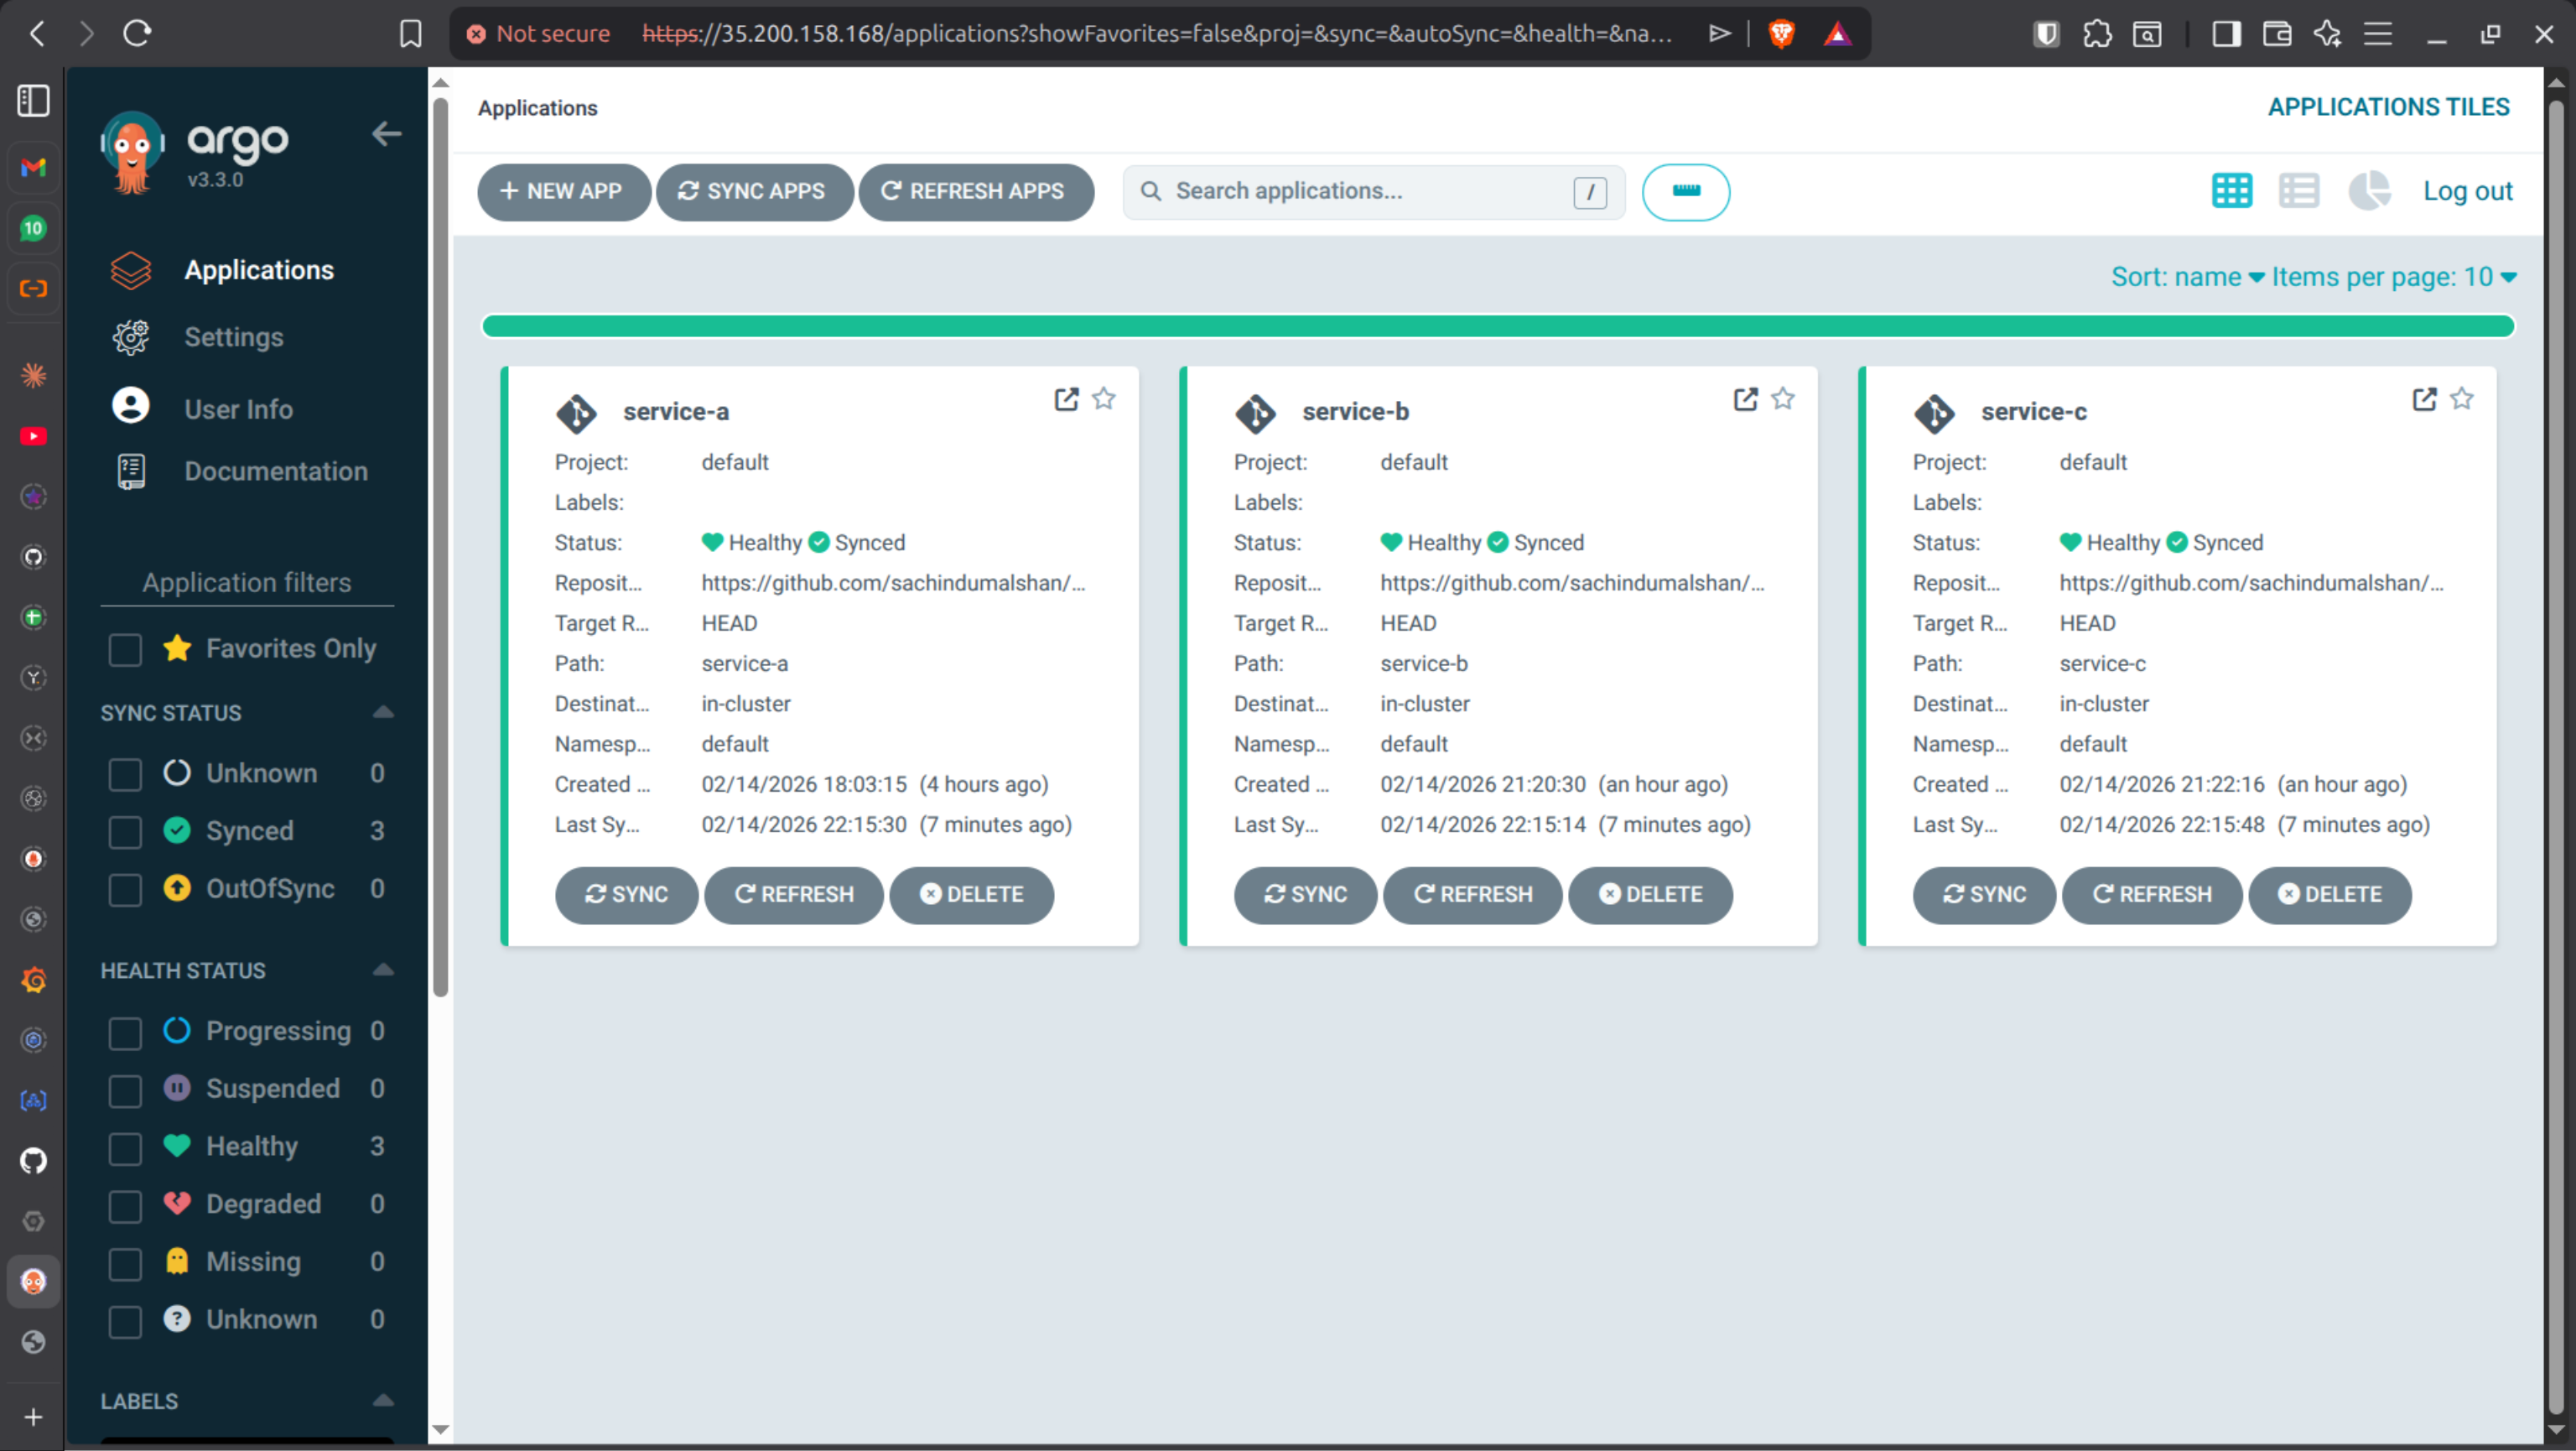
Implement three services to understand how they communicate internally and add those to the ArgoCD.
service-a | Device Service |
|---|---|
service-b | Sensor Service |
service-c | Alert Service |
As stated earlier created application, create 3 applications for 3 services like in below image.
PHASE 9 - Setup n8n
Why Add n8n?
Kubernetes + Argo CD already handle 80% of recovery.
But they do not:
Send Slack alerts
Trigger email notifications
Execute external Git rollback
Call external APIs
Run conditional business logic
That’s where n8n comes in.
Why Install n8n Inside Kubernetes?
You could run n8n: Inside Kubernetes
We choose Kubernetes because:
Same cluster access
Easy internal DNS communication
Scalable
Production-style deployment
Strong DevOps portfolio value
Step-by-Step — Install n8n in Kubernetes
1️⃣ Create Namespace
kubectl create namespace automation
Verify:
kubectl get ns
2️⃣ Create n8n Deployment
Create file: n8n-deployment.yaml
apiVersion: apps/v1
kind: Deployment
metadata:
  name: n8n
  namespace: automation
spec:
  replicas: 1
  selector:
    matchLabels:
      app: n8n
  template:
    metadata:
      labels:
        app: n8n
    spec:
      containers:
      - name: n8n
        image: n8nio/n8n:latest
        ports:
        - containerPort: 5678
        env:
        - name: N8N_BASIC_AUTH_ACTIVE
          value: "true"
        - name: N8N_BASIC_AUTH_USER
          value: "admin"
        - name: N8N_BASIC_AUTH_PASSWORD
          value: "admin123"
        - name: N8N_SECURE_COOKIE
          value: "false"
        # ── Add these four lines ──────────────────────────
        - name: N8N_EDITOR_BASE_URL
          value: "http://35.210.234.209"
        - name: WEBHOOK_URL
          value: "http://35.210.234.209/"
        - name: N8N_HOST
          value: "35.210.234.209"
        - name: N8N_PROTOCOL
          value: "http"
Apply:
kubectl apply -f n8n-deployment.yaml
3️⃣ Create Service (NodePort)
Create file: n8n-service.yaml
apiVersion: v1
kind: Service
metadata:
  name: n8n
  namespace: automation
spec:
  type: NodePort
  selector:
    app: n8n
  ports:
  - port: 5678
    targetPort: 5678
Apply:
kubectl apply -f n8n-service.yaml
Verify:
kubectl get pods -n automation
kubectl get svc -n automation
Access n8n:
http://<node-ip>:<nodeport>
❗ ERROR — n8n Not Accessible
Possible causes:
Firewall blocking NodePort
Wrong external IP
Pod not running
Service type incorrect
Check:
kubectl describe pod -n automation
kubectl describe svc n8n -n automation
🟢 Build n8n Workflow — Service Health Monitor
[Schedule Trigger] every 1 min
        ↓
[HTTP Request] service-a /live
        ↓
[HTTP Request] service-b /live
        ↓
[HTTP Request] service-c /live
        ↓
[Code Node] evaluate results
        ↓
[IF Node] has Issues?
       ↓           ↓
   [Slack]       [End]
Node 1 - Schedule Trigger
Trigger Interval: Minutes
Every: 1
This runs monitoring every 60 seconds.
Nodes 2, 3, 4 — HTTP Requests
Each node:
Method: GET
URLs:
http://service-a.automation.svc.cluster.local/live
http://service-b.automation.svc.cluster.local/live
http://service-c.automation.svc.cluster.local/live
Name them exactly:
Check Service A
Check Service B
Check Service C
⚠️ IMPORTANT:
Go to Settings tab → Enable “Continue on Fail”
Without this, workflow stops on first failure.
Node 5 — Code Node
const serviceA = $('Check Service A').first();
const serviceB = $('Check Service B').first();
const serviceC = $('Check Service C').first();

const results = [
  { name: 'service-a', data: serviceA },
  { name: 'service-b', data: serviceB },
  { name: 'service-c', data: serviceC },
];

const issues = [];

for (const svc of results) {
  if (svc.data.error !== undefined) {
    issues.push({
      service: svc.name,
      detail: svc.data.error?.message || 'No response'
    });
  }
}

const lines = issues.map(i => `*\({i.service}* — DOWN\nDetail: \){i.detail}`).join('\n\n');

return [{
  json: {
    hasIssues: issues.length > 0,
    message: issues.length > 0 ? `🚨 Service Health Alert\n\n${lines}` : 'All OK'
  }
}];
⚠️ Node names inside $('...') must match EXACTLY.
Node 6 — IF Node
Condition:
{{ $json.hasIssues }}
Operation: is true
True → Slack
False → End
Node 7 — Setup a Slack Bot
1. Go to: https://api.slack.com/apps
2. Create New App: → From scratch
3. OAuth & Permissions(Add scopes):
   * chat:write
   * chat:write.public
   * channels:read
4. Install to workspace:
5. Copy Bot Token (starts with xoxb-):

In n8n:
Settings → Credentials → Slack API → paste token

In Slack:
/invite @n8n-alerts

Slack Node Configuration:
* Resource: Message
* Operation: Send
* Channel: #alerts
* Message: {{ $json.message }}

Activate workflow.
Testing the Workflow
Change:
http://service-a/live

To:
http://service-x/live
Execute workflow.
✅ Slack alert should fire. Revert back.
PHASE 10 - Realistic Production Architecture
Now your architecture becomes:
Kubernetes
 ├── Pod crashes
 ├── Scaling events
 ├── Restarts
 │
 │ (metrics / events)
 ▼
n8n
 ├── Evaluate logic
 ├── Notify Slack
 ├── Optional Git rollback
 │
 ▼
Git
 │
 ▼
Argo CD
 └── Re-sync cluster
What Makes This Production-Grade?
Self-healing pods
GitOps reconciliation
Auto-scaling
Internal service communication
Automated alerting
Event-driven workflows
Slack integration
Extensible automation engine